Tool Search: Ed-Fi
This article describes the steps you should take in order to properly move Ed-Fi to the 2023-2024 school year. This article also contains general recommendations for processes to complete at the end of the school year and beginning of the school year.
Step 1. Update to the most recent version of Campus
In order to have the schema and logic in place, it is critical you update to the most recent version of Campus. Failure to do this will result in an inability to properly report data for the current school year.
Step 2. Enable Ed-Fi functionality
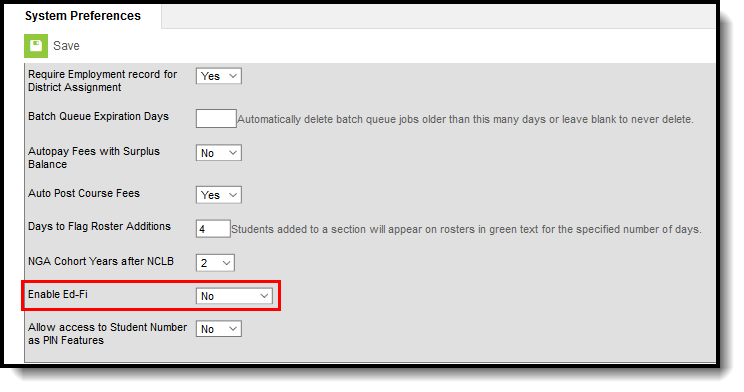
Enable Ed-Fi functionality via the Enable Ed-Fi system preference in Reporting > System Preferences > System Preferences > Enable Ed-Fi.
- Yes = Ed-Fi functionality is enabled and Ed-Fi data will sync from Campus to the Ed-Fi system (if properly enabled via Ed-Fi Configuration tools).
Tools Only = You are able to fill out Ed-Fi fields (such as Ed-Fi ID) within Campus but this data will not sync to the Ed-Fi system until this field is set to Yes. This is especially useful when setting up Ed-Fi IDs for students within a school or district so that data properly syncs between Campus and Ed-Fi prior to enabling it.
No = Ed-Fi functionality is not enabled for the district and users cannot access Ed-Fi tools within Campus.
 System Preferences
Step 3. Create a New Ed-Fi Configuration for 2023-2024
You will need to create a new Ed-Fi configuration for the 2023-2024 school year.
 Ed-Fi Configuration

To do this:
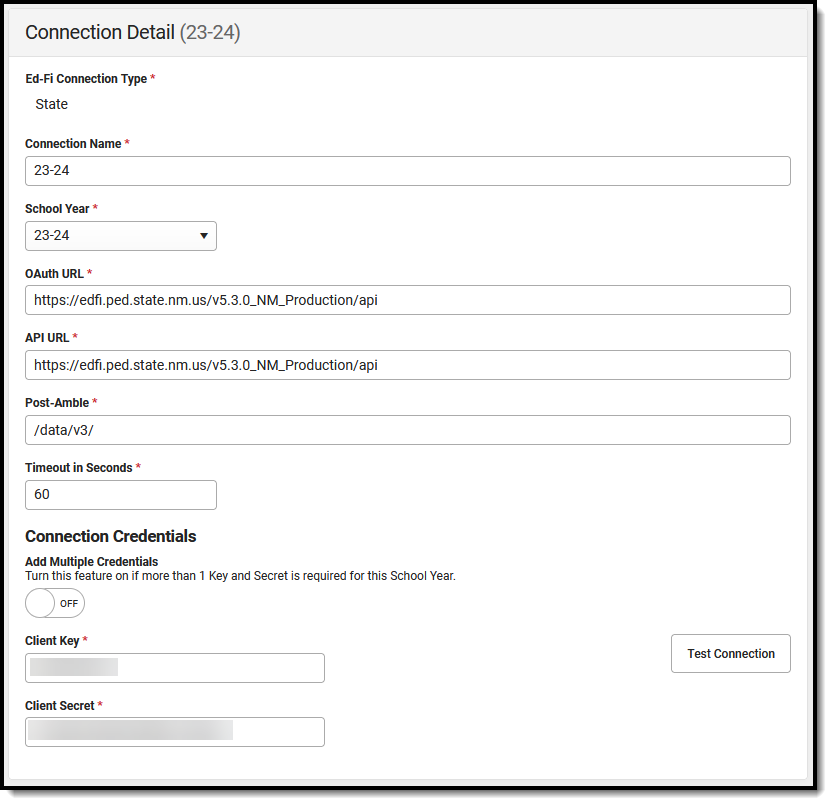
- Navigate to the Ed-Fi Connection Configuration tool (Reporting > Ed-Fi > Configuration > Connection).
- Select New.
- Select the Connection Type, options are Core or State.
- Enter a Connection Name.
- Select a School Year.
Enter the following values:
Field Value Ed-Fi Connection Type State O-Auth URL https://edfi.ped.state.nm.us/v5.3.0_NM_Production/api API URL https://edfi.ped.state.nm.us/v5.3.0_NM_Production/api Post-Amble /data/v3/ Timeout in Seconds This field defaults to a value of 60 seconds and determines (in seconds) the amount of time allowed to pass before the connection between Campus and Ed-Fi is considered timed out and Ed-Fi events are not processed. These Ed-Fi events are then re-processed the next time a quartz job runs. Client Key The Client Keywill be provided by the New Mexico Department of Education. Client Secret The Client Secret will be provided by the New Mexico Department of Education. - If desired, a certificate can be imported for the Ed-Fi configuration. For more information, please see the 'Import Certificates' section of the Ed-Fi Configuration article.
- Click the Save button.
Step 4. Set Ed-Fi Tool Rights
Set the Ed-Fi Tool Rights via User Management > User Accounts > Tool Rights.
Review the Ed-Fi Tool Rights article for more information.
 Tool Rights
Step 5. Add Ed-Fi School ID
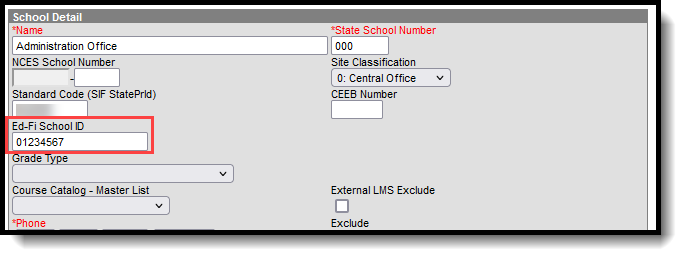
In order to send in Ed-Fi, the 'School' needs an Ed-Fi School ID. For the Administration Office, enter the District Entity ID in the Ed-Fi School ID field (School & District Settings > Schools > School Information).
 School Detail
Step 6. Set Resource Preferences
Set all Resources to 'Off' and map the Ed-Fi Codes to Campus Codes via the Resource Preferences in Reporting > Ed-Fi > Configuration > Resource Preferences. For more information, please see the Resource Preferences article.
Step 7. Toggle Resource Preferences to On
Toggle Resources to 'On' in Resource Preferences in Reporting > Ed-Fi > Configuration > Resource Preferences once all data setup is complete. For more information, please see the Resource Preferences article.
Step 8. Perform an Ed-Fi Resync for the Scope Year
Now that the Ed-Fi configuration is in place and data has been properly reviewed, an ordered resync should be completed as the first resync of the year. This is completed using the Resync tool.
 Resync
To do this:
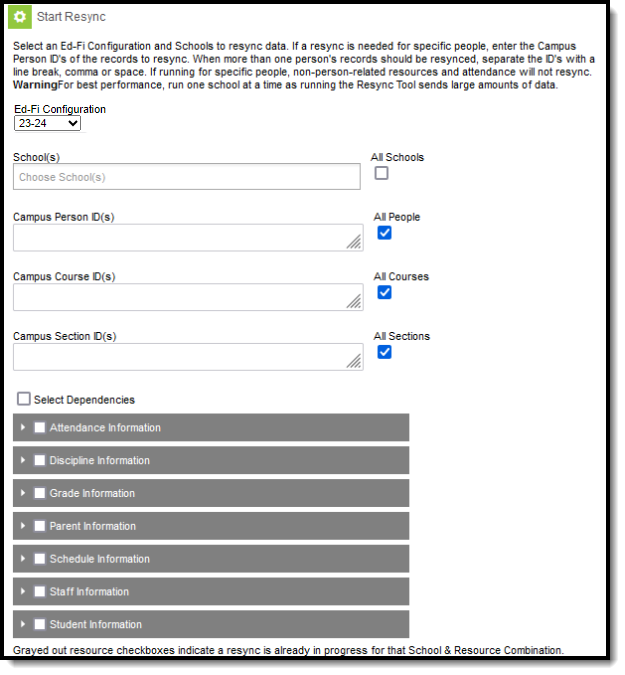
- Navigate to the Resync tool (Reporting > Ed-Fi > Resync).
Select the appropriate Configuration.
Select the resources to resync.
Once data sets have been marked and you are ready to resync, select the Start Resync button.
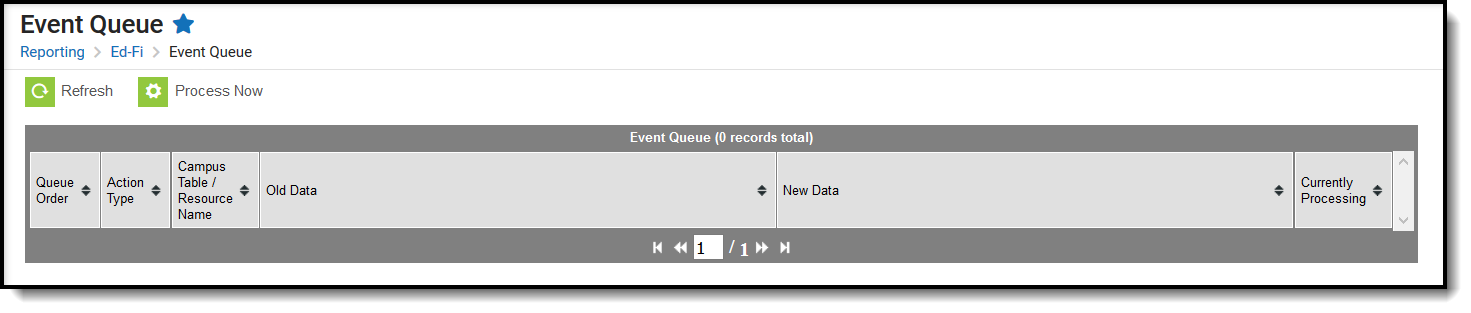
Step 9. Review the Event Queue.
Navigate to the Event Queue (Reporting > Ed-Fi > Event Queue). Wait until all records have processed in the Event Queue (when it reads “0 records total” as seen below). Once there are no events in the Event Queue, turn off all Resource Preferences.
 Ed-Fi Event Queue
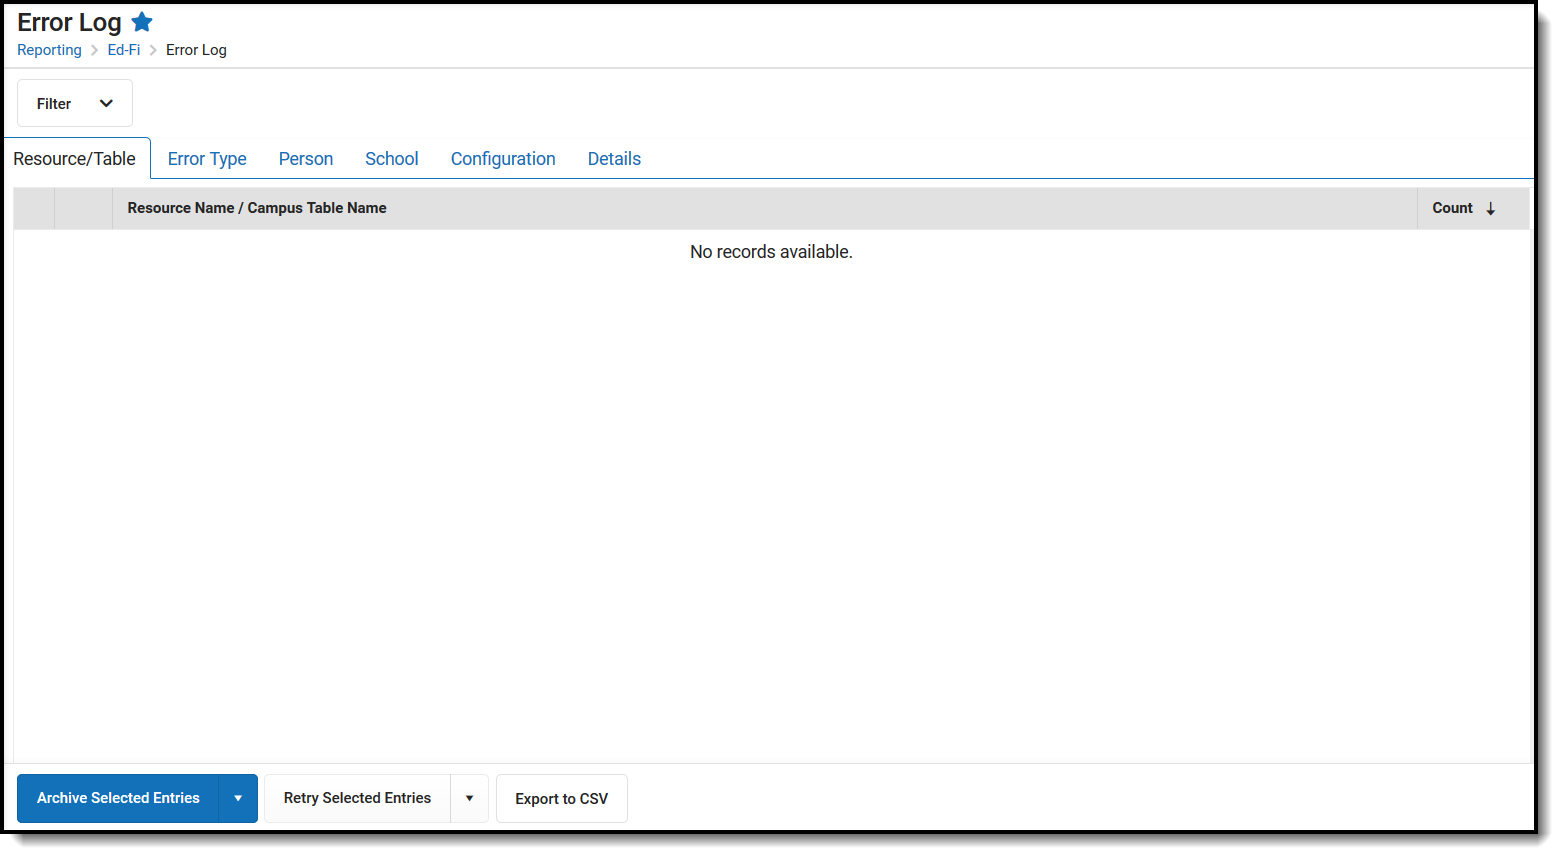
Step 10. Review the Error Log
Navigate to the Error Log (Reporting > Ed-Fi > Error Log). Review the Error Log and note any errors that exist. When you feel like you’ve addressed all of the underlying causes for the errors, click “Archive All Entries” on the Error Log tab (which will remove them from the list) and return to Step 8, retrying the resync of data.
 Ed-Fi Error Log.
